


Introduction (what is drums mixing)
Now that you have mastered the art of recording drums your next step is learning how to mix drums. Drum mixing can be a rather challenging yet very rewarding and exciting step in production. It’s all about getting the right mix and making those drums sound great. This can be achieved in many different ways with the use of your choice of audio production tools. Drum mixing is a great way to create your unique sound using an EQ, compressor, and an array of mixing compressors.
How to mix drums – the basics
Let’s get down to the very basics. To start mixing your drums the first step is to make sure that you have the skills to set up your EQ and compression. Next, you will need to know to fix the tuning and get that pitch right. You will need to know how to address phase problems and how to fix them. It’s important to get the phase right or it will affect the type of kick from your kick drum or the amount of punch you get off your snare. You need to make sure that your drum tracks are all in phase to get that balance right. Working with multiple mic setups you are going to end up with the sound of other nearby drums bleeding through into other mics.
Gates and expanders are used to gain back control over the sound. This is done by bringing down the level to zero until it is loud enough to cross the threshold; this will therefore open the gate allowing the audio to pass through. If a signal is louder than the user-defined threshold it will pass through but for quieter signals than the threshold will be reduced downward.
Next, you will move on grouping your drums to simplify your mix especially if you recorded with multiple mic setups. Now that you have grouped your drums you want to start adding in plugins and start using a processor on that mix. It’s important to have a good idea of the type of sound that you would like to achieve beforehand. Listen to your recorded track and decide on what type of sound you would like to hear loud, soft, bright, or clean.
Drum mixer types (top brands) and how to choose the best for your needs?
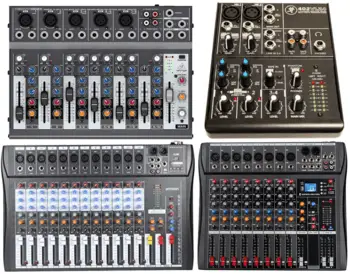
There are many different drum mixer types available on the market.
|
Best Mixer for Drums
 |
Best Mixer For Drums
|
|
VIEW LATEST PRICE | |
|
Best For Low Light Setting
 |
Best For Low Light Setting
|
|
VIEW LATEST PRICE | |
|
Best for Sound
 |
Best for Sound
|
|
VIEW LATEST PRICE |


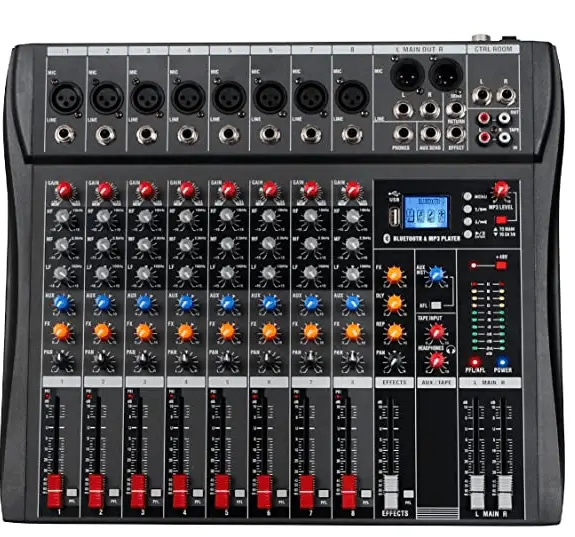
The Depusheng audio mixer is the best mixer for drums and is very well known for its performance. This drum mixer features an LCD screen that shows all system settings of existing operational modes. The Deusheng has inclinations and that are easy to follow. The mixer comes with Bluetooth technology, a digital effector, a USB socket, and a single-channel 3-segment equalization. This mixer is also portable and lightweight and features a scientific air-shaped cooling system port. Another top mixer brand is XTUGA. This mixer is known for its reliable performance and great quality. The A4 mixer has an inbuilt +48 phantom power, 4 channel mixing console with one stereo channel, supportive MP3 playback and two-mono channels.
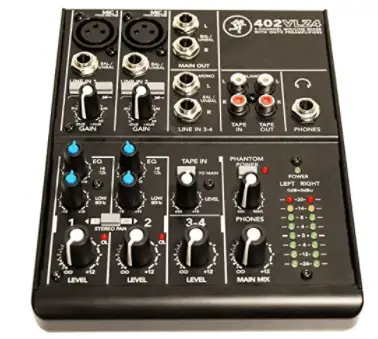
The next top range audio mixer is the legendary Makie VLZ4. This black coated mixer has high-contrast knobs best suited for low light settings and a taper that allows good control while mixing your track. This mixer has 12 channels and comes with an upgraded RF rejection perfect for broadcasting.
The type of drum mixer that you use will determine how well your sounds blend.
It is a good investment to purchase a solid mixer that will give you the control you need to create a unique masterpiece.
When purchasing a good audio mixer it’s important to consider a few things. Your budget will determine the type of mixer that you can afford. There is a large range of pro audio mixers and most higher quality options are found within or under the $200 range. If you want to look for a great investment mixers can be found for and beyond the $1000 mark. You need to choose between digital or analog. The location of your mixing is very important to consider. Home recording studio setups require very different equipment compared to a professional studio. Always make sure you have the best mixer for drums available.
The drums mixing process step by step
Step 1: Fine-tuning
This is the most important step. Kick and snare drums can be tuned using a plugin specially designed to change the root note of drums.
Depending on how many drums you have the toms are tuned next at different times.
Step 2: Phasing
It’s important to get the phase right between each track. Without correct phasing, certain frequencies will begin to sound out of balance.
To fix this align your overheads and other mics closer to the snare this will produce a cleaner overall sound from your kit.
Step 3: Gating
To gain control over your drums bleeding over gates and expanders are used. Gating cleans up the sound and decreases the sound level especially snare and kick drum sounds without affecting your cymbals or other drums. Apply the processor to the drum blees and this will assist with reducing the threshold until the bleed subsides. You can manipulate the effect of the sound by adjusting the attack time. To create a sound delay when the gate is closed you can adjust the release time. You can edit your tracks in their digital audio workstation and delete the bleed. This is done very often by sound engineers while the toms aren’t being played. To obtain a more natural sound you can cut straight up against the transient of the tom and then add in a fade as the struck tom delays.
Step 4: Equalizer
Your subtractive equalizer is used to discover any problem areas in your drum recording. A sweeping technique can be used to help you identify these problems. To do this you will need to turn up the Q value to one of the EQ bands. If you hear any unwanted frequencies you will need to start reducing the gain instead of boosting it. Depending on your sound choice you may want to use an additive EQ. These are commonly used if you prefer a rock sound or a more old-school sound.
Step 5: Compressing
As soon as you have created an equilibrium with your frequencies and you have controlled the bleed on your drums. Your next step is to focus on compression and time settings. This is very important to produce a good sound. The speed of the attack on your drums will determine your overall sound. An attack that is too fast will sound to have too much punch and will be too loud. The best way to achieve this is to start with the fastest release and the slowest attack. You will need to back off as soon as you start to lose the impact of the initial transient while slowly decreasing your attack time. Next, you will need to increase your release time. Your needle should bounce up to 3-6 dB as the drum is hit and return to 0 as the next drum is hit and the needle bounces back up.
Step 6: Reverb
Reverb has very specific settings that add depth to your drum track recordings. These drum tracks are on an aux and then sent to reverb. It is best to have the reverb channel balanced enough to allow just the right amount of volume. This will create the right amount of space between each drum that is hit.
Summary
Drum mixing can be very overwhelming, challenging, and time-consuming. Now that you have a much better understanding of how to mix your drums and how to choose the right mixer. We hope you find these drum mixing steps have helped you achieve a much more rewarding experience.